Before You Begin
Replacing Shoji paper is a satisfying project that takes 30–90 minutes per panel. The key is patience — working slowly and methodically gives far better results than rushing.
Make sure your frame is clean, dry, and laid perfectly flat on a stable surface. Clear a workspace of at least 2×1 metres and have all materials ready before you start.
Materials Checklist
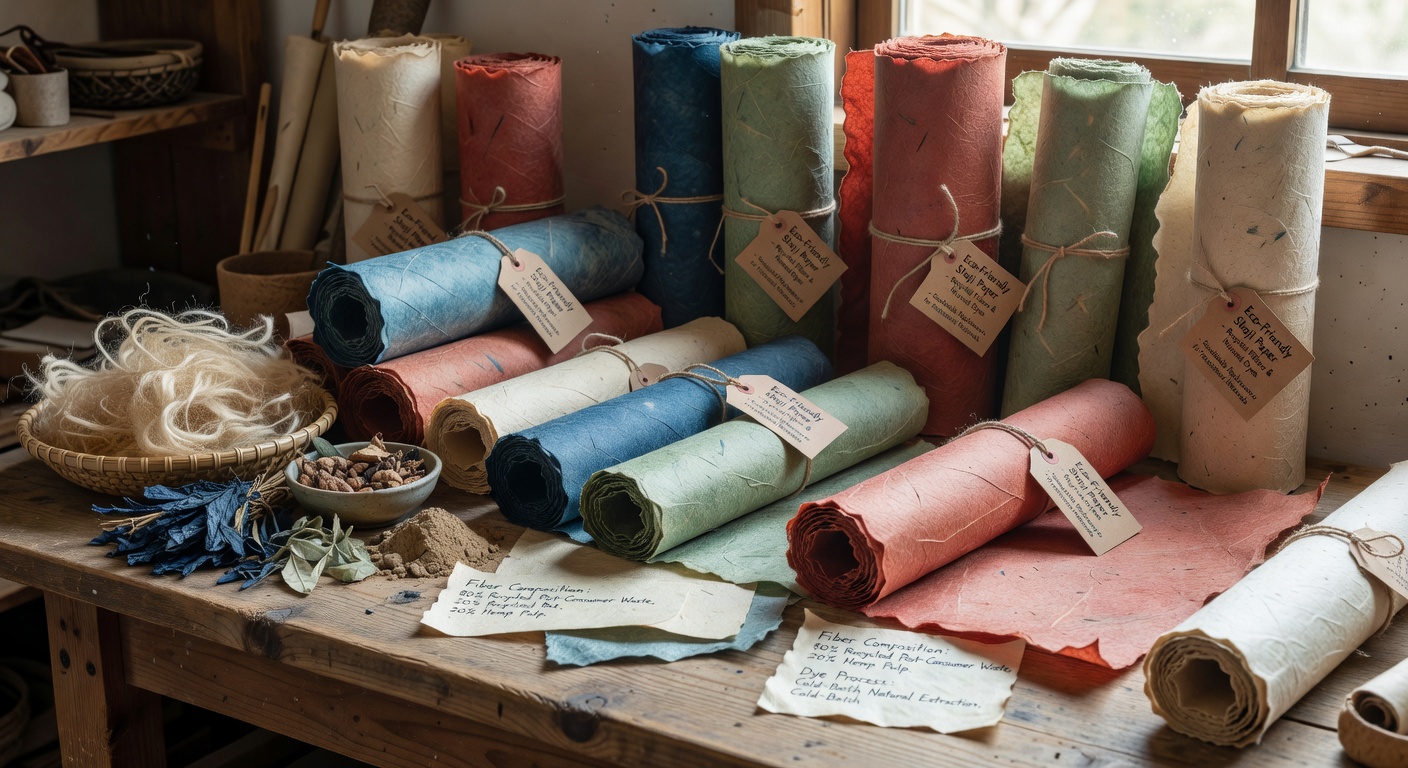
- Washi Shoji paper roll (or pre-cut sheets)
- Shoji glue (でんぷん糊 or vinyl-based)
- Small brush or applicator sponge
- Fine-mist spray bottle with clean water
- Sharp craft knife or scissors
- Flat ruler or straight-edge
- Clean, dry cloth (for smoothing)
- Weights or clamps (optional but helpful)
The 8-Step Process
-
1
Prepare the Frame Surface
Wipe the lattice bars with a barely damp cloth to remove dust or old glue residue. Run your fingertip over the surfaces — they should feel clean and smooth. Allow to dry completely. Even faint moisture will prevent adhesive from bonding properly.
-
2
Cut Paper to Size
Measure the outer frame dimensions and add 2 cm on each side. Cut carefully with a sharp knife along a straight edge. A clean cut now saves difficult trimming later.
- Always cut on a hard, flat surface — never on Tatami
- Use a new blade for the cleanest edge
- Let rolled paper rest flat for 10 minutes before cutting to reduce curl
-
3
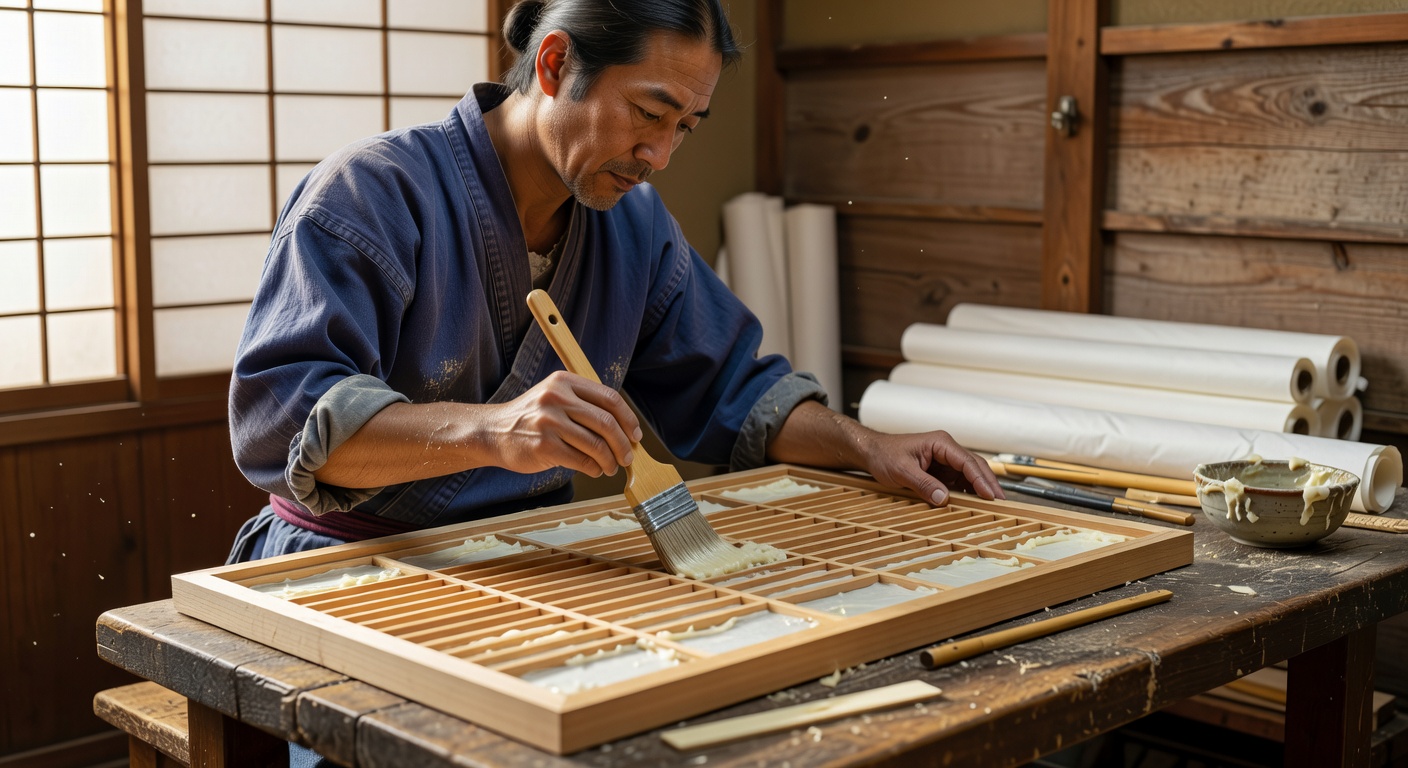
Apply Adhesive to the Frame
Using a small brush, apply a thin, even coat of Shoji glue to all lattice bars — both outer frame members and inner grid. Work in sections to prevent glue from drying before you apply the paper. A thin coat is far better than a thick one.
-
4
Position the Paper
With a helper if possible, hold the cut sheet above the frame and align carefully before lowering. Once paper touches wet glue, repositioning becomes very difficult. Start from one long edge, holding the opposite edge up while you press the first side down.
-
5
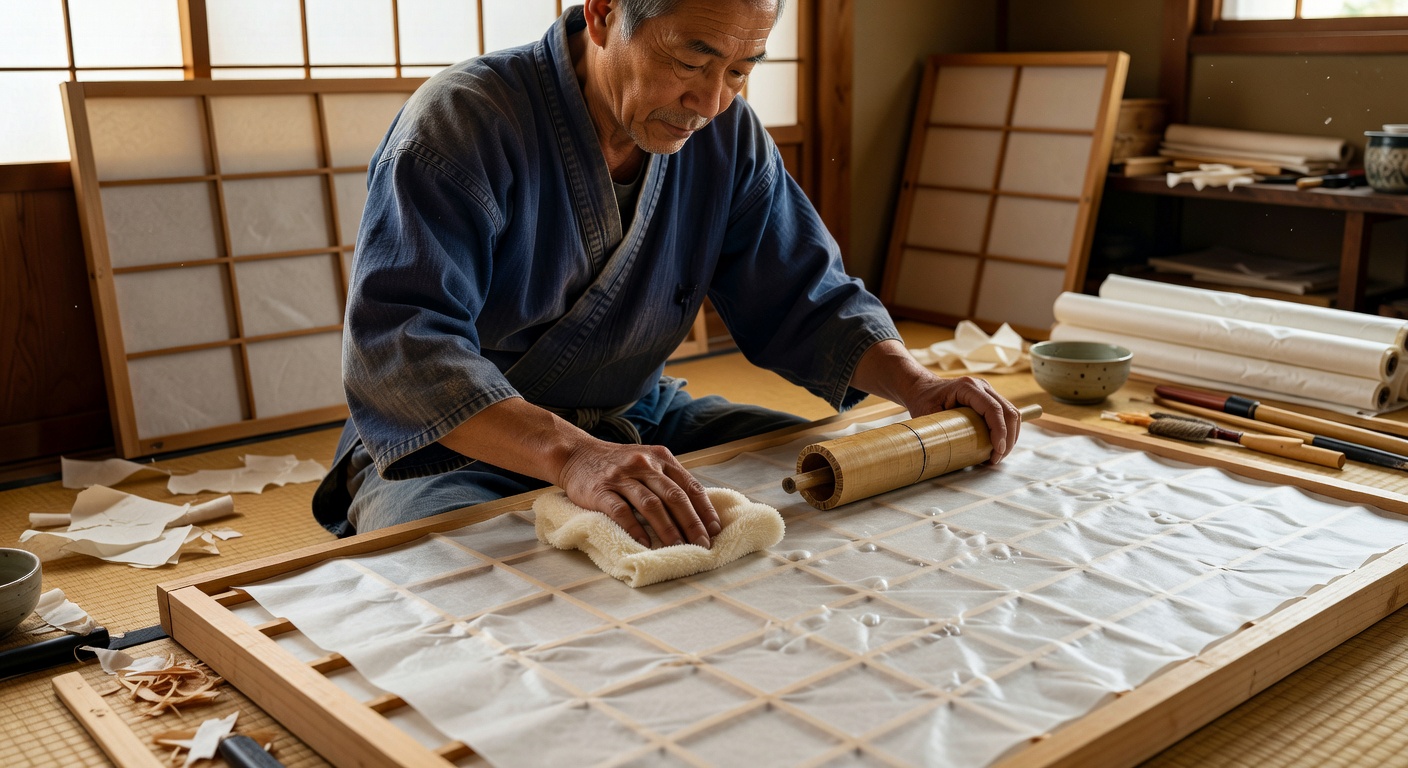
Smooth the Paper Down
Using a clean, dry cloth folded into a pad, gently smooth the paper outward from the centre toward the edges — following the direction of the lattice bars. This pushes out air and ensures full adhesion. Use light, consistent strokes — do not press hard.
-
6
Spray for Tension (Optional)
Lightly mist the outer surface of the paper with clean water using your spray bottle. As the paper dries, it contracts and becomes taut — creating the classic crisp, drum-like tension of traditional Shoji screens. This step is optional but highly recommended.
-
7
Allow to Dry Fully
Leave the frame flat and undisturbed for a minimum of 12 hours — 24 hours is ideal. Keep the room ventilated but free from drafts or direct sunlight during this time. Do not rush drying with a hairdryer.
-
8
Trim the Edges & Re-hang
Once fully dry, use a sharp craft knife and straight-edge to trim the overhanging paper flush with the outer frame edges. Work slowly with light scoring strokes. Re-hang the panel in its groove and admire your work.
If using iron-activated pre-glued rolls, skip steps 3–6. Instead, position the paper dry, then run a warm (medium-heat) iron slowly over each bar to activate the adhesive. Work from one corner outward, lifting the unactivated portion as you go.
Using too much water on standard Washi will cause the paper to stretch and then crack as it dries. Similarly, applying glue to a damp frame prevents proper bonding. When in doubt — dry is always safer.